Tips
Bored At Home? Here’s How To Highlight Your Hair At Home
With the risk of the pandemic, some of us might be a bit sceptical about going to salons. But, are...
By: Cherelle Lim / August 31, 2021
With the risk of the pandemic, some of us might be a bit sceptical about going to salons. But, are you itching to change up your hair? Maybe you’ve never done anything to your hair before and you’ve just got the urge to dye your hair. Or, maybe you’re a veteran whose roots have grown out way too much! Why not try to highlight your own hair at home! Whichever, there is no time like the present to try something new! Everyone at least once has thought about dyeing their hair on their own at home. Not only is it cheaper than going to a salon, but it is also a great experience to have! Although you might not achieve that perfect look you get from salons, there’s sort of a sense of accomplishment when you do it yourself. So, for you risk-takers out there, Beauty Insider is here to help you go through the process of achieving highlights together!
Contents
Why Highlight Your Hair?
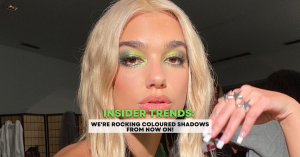
Highlighting your hair is a great way to try your hand and dyeing your hair. It takes up half your hair, which means the process takes half the time too! What’s more, who said highlights are limited to one colour? Instead of going for the traditional blonde of light brown highlights, you can always go bold and have some bright pink highlights! Aside from that, highlights do more than just change the colour of your hair. It can seriously enhance your complexion and hairstyle too! Subtle highlights are a great way to add a little bit of dimension to your hair. For some, it even makes their complexion glow! If you can’t wrap your head around a whole head of highlights, why not start with the front two pieces of your hair? A classic e-girl look that everyone will adore!
How Long Do Highlights Last?
Highlights tend to last up to 2 to 3 months. As with traditional hair dyeing, it needs to be touched up for it to last longer. On average, you should have a root touchup every 4 to 8 weeks since your roots are growing out. For some, your roots may grow out quicker, so it’s best to decide on your own when you need a retouch! Using a gloss treatment after colouring your hair is also a neat trick to boost the colour of your hair. What’s more, is that it can make your hair appear shinier as well!
1. Choose A Highlighting Kit

First off, you need to ensure that you know what to get. To make things easier, you should get a highlighting kit. These kits are specifically used for highlighting the hair. There are plenty of websites and shops that sell these kits. Check out the Kristin Ess The One Signature Hair Gloss – Golden Hour: Light Golden Blonde. If you are more on a budget, search on Shopee or Lazada! These are the best places to get affordable hair kits and products. If you can’t find any that you like, you can opt for getting plain ole bleach instead.
2. Prepare Your Tools
Next up, you need the right tools. Now that you have your bleach or highlight kit, you need brushes or caps! Maybe even get a mixing bowl, but honestly, a container is just fine! Get some aluminium foil as well to cover your hair after bleaching or highlighting. When you highlight your hair, apply the aluminium foil to the strands that have already been coloured. This way, you don’t get any unwanted colour on other strands! Using aluminium foil also means that your hair will lighten faster. If you are dealing with bleach or any type of colour, it’s best to use gloves as well! Most hair dyeing kits come with a brush and if you want to try something different, there’s a highlighting cap! This has been a popular way to highlight your hair and it can be found on Lazada and Shopee!
3. Do A Strand Test
Before you start on your whole head, make sure you do a test strand first. This helps determine if your hair is suitable for dyeing or not. If there are no irritations, breakage or weird colours stripping out, you can proceed to highlight your hair. If any of these occur, it is best to stop and not highlight your hair at all. A test strand also helps determine how long it takes for your hair to lighten to the colour you want. Check on it every five minutes and jot it down so you know the overall processing time to highlight your hair!
4. Section Your Hair
To make things easier for you, it is also best to section your hair. The ideal way to section is to split it right behind your ears, and down from the tip of your head. From there you can tie your hair up into four or three sections with a hairband. Since you are highlighting your hair, you should focus on the T-zone. This is the best part of your hair to highlight. When you highlight your hair, you don’t want to do too much! Around your face and random streaks on the back will make for a natural look. Sectioning also keeps you from making too much of a mess. So highlight away!
5. Work From The Front To Back
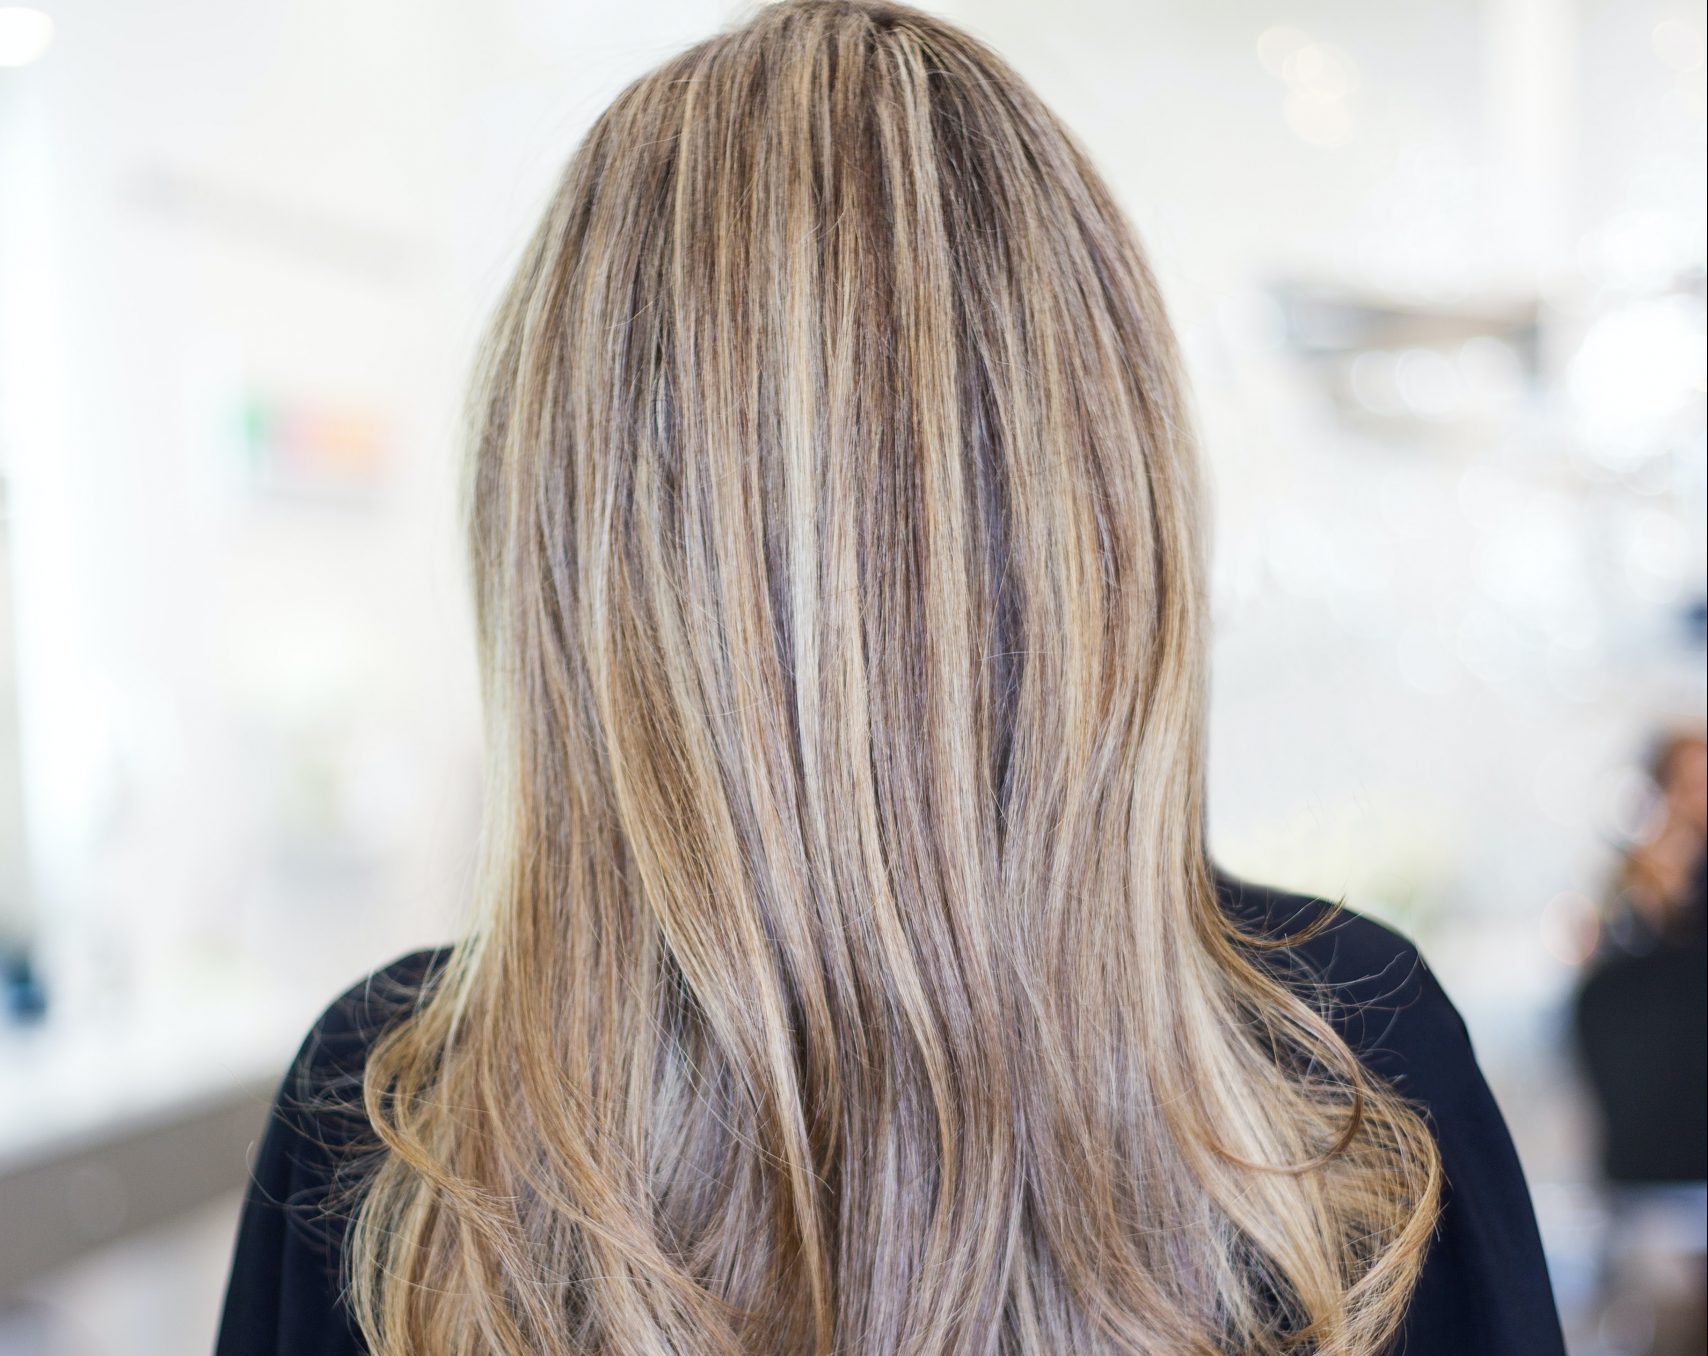
When you highlight your hair, work from the front to the back. Also, remember that the strands you highlight first will process finish first too. Apply onto dry hair and a few centimetres from your roots. You want to apply a ton of product onto your strands because if you don’t your hair won’t absorb it. Apply a generous amount that seems to cover the whole strand. Make sure that when you take a piece of hair, it is thick enough so that you don’t see through it. This ensures that when you spread the product, it doesn’t fall through to the other strands. Make sure you highlight the areas that frame your face and your parting. As you move to the back, gradually thin out the layers of hair. Don’t be too particular on where you apply as more random placements help achieve a natural highlight.
6. The Waiting Game

Once you are done with your application process, we wait. Yes, I honestly think that the waiting game is the most exhausting! But, we still have to wait for the amount of time stated on the box, or the amount of time you tested out on your test strand. You can check on it after a few minutes to see how far it has gone. If you are satisfied, you can simply take out the foils, cap or nothing if you free-handed! Finally, you get to wash it all out and feel fresh and relieved! Ahh, the best feeling. Shampoo your hair and condition it right after to get back all the moisture you lost.
7. Toning
A step many forget is to tone your hair! Toning your hair helps get rid of yellowish or orange hues in your hair. Toning helps get rid of the brassiness in your hair as well. Since everyone’s hair will turn a bit darker after highlighting or bleaching, toning can help control that. Toning your hair can also help add extra shine and it helps concentrate the colour of your highlight.
8. Style It Up
Lastly, all you need to do is style your hair! Blow-dry your hair and give it some curls or waves. If you prefer, you can also leave it silky straight!