Hair
French Braid 101: The Ultimate Guide To Master The Art Of This Hairstyle
As women, all of us are uniquely different in our own ways, but if there’s one thing that binds us...
By: Balqis Ariffin / October 19, 2021
As women, all of us are uniquely different in our own ways, but if there’s one thing that binds us all it has to be French braids. Well, learning French braid is some sort of ritual that every young girl must oblige to, isn’t it? It really makes us reminisce about the past (sighs). They may seem like a classic hairstyle, but you can see people of all ages donning French braids. Whether it’s at school, a casual date or on the red carpet, you can never go wrong with this look. It just never goes out of style! When in doubt, simply style up your locks with a French braid whenever you need a quick fix.
Although they seem intricate, French braid is actually super easy to do, even on yourself. We’re not sure about you, but the majority of us can only do the three hair strand technique. So, a complex hair braid that requires certain skills is absolutely out of the question. We just get to the point that we are hopelessly confused. If you’re one of us, count yourself lucky because we have the ultimate solution for you to master the art of French braid. Does it sound tempting? Below, Beauty Insider has gathered all the essential deets that you need to know.
Contents
What’s the Difference Between French Braid and Dutch Braid?
Wait up! Did you know that there’s actually another braid that is somewhat similar to a French braid? Indeed, we’re referring to Dutch braid. It is also known as reverse French braid or inside out braid, as it delivers a more 3D look. The technique of the Dutch braid is similar to its counterpart, in the sense that the style starts at the crown of the head and more hair is added to the strand each time. However, instead of placing the new hair strand over the middle section, you need to place it underneath it. If you’re a pro, you can also mix it by styling your hair with half Dutch and French braid. As the difference is subtle, the majority of the people tend to get easily confused between these two.
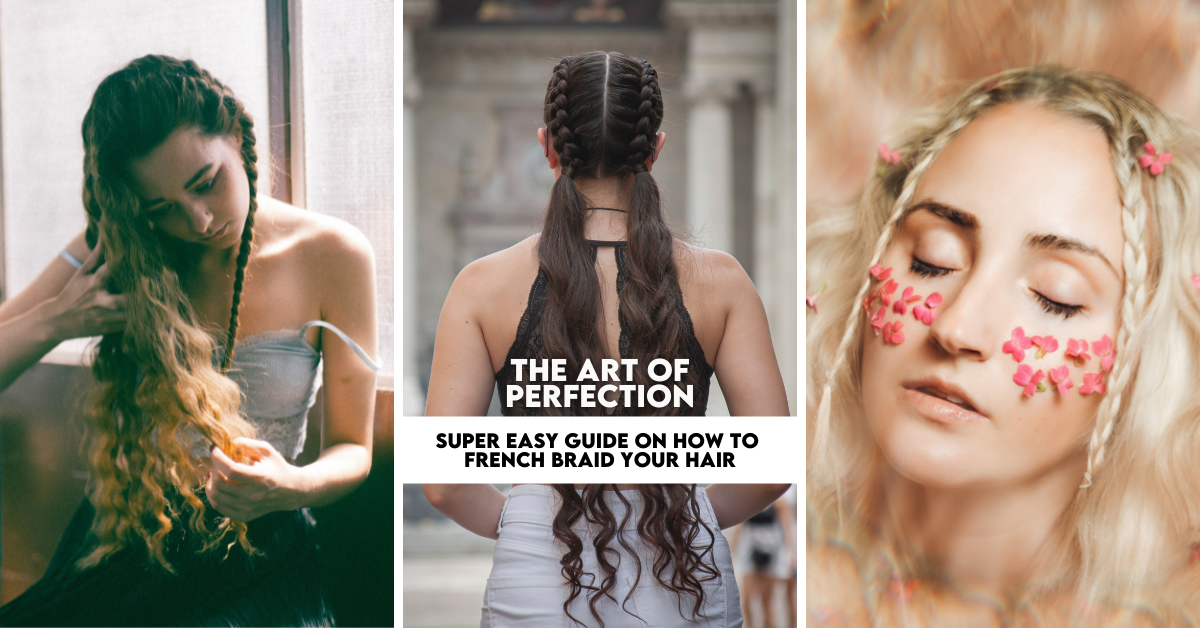
Step By Step Guide on How to French Braid Your Hair
French braid is a popular hairstyle for a reason, it looks gorgeous and classy. You can consider this style as the advanced version of the basic braid method. Okay, we know as a beginner French braid may seem super difficult to create, right? Well, actually it is not. Simply try this step by step guide and we’re sure you can easily master this technique.
1.Prep Your Locks
Firstly, remember to gather all the essential items near you. Trust us, you don’t want to search for these supplies when you’re halfway doing the French braid. It’s not necessarily that you use each of them, but they are super handy whenever you need a ‘helping hand’.
- Hair comb
- Elastic band
- Bobby pins
- Hair spray
The key to attaining a flawless French braid is to avoid washing your hair prior to styling it. As unwashed hair has some texture and weight, it makes braiding them easier. But if you need to shampoo, make sure to spritz sea salt spray afterwards. Plus, avoid using any conditioners that are formulated with silicone, as it can make your locks smoother. You need to skip thick conditioner as it can make your hair quite difficult to braid with.
2.Comb Your Precious Tresses
Once you have gathered all the necessary items, you can comb your hair with a detangler or any hairbrush that suits your hair type. Simply brush until all the tangle and knots are smoothen out. One pro tip, if you have a fine hair type, we suggest that you opt for a detangler. Whereas for those with thick locks, you will find a wide tooth comb works wonders for you.
3.Three Sections
Then separate your hair into three different sections namely middle, left and right. Basically, you can start with whichever section that you prefer, but if you want a tighter braid we suggest that you opt for the section on top of your crown head. On the contrary, if you want a loose French braid, you can start above your ears.
4. Overlap these Hair Sections
Simply take the hair strand from the left section and place it over the middle part. Then, you should switch the centre hair strand to the left side. While doing this, you can adjust the tightness depending on your preference. Next, take the right hair section and cross it over the middle part. This method is similar to the first step and these sections should be switching place.
5. Add More Hair
Afterwards, take the hair strand on the left part and add more hair before you place it over the centre part. You will see that the new hair section on the middle is thicker than before. Then repeat the similar step for the right section. Remember to add additional hair strands before you cross them over the centre section.
6.Proceed with the Same Technique
You can proceed with the same technique until you have worked your way at the nape of the neck or there’s no additional hair strand to be added anymore. Finish the braid with the simple three strand method, which is the left part overlap with the middle and the right part over the centre section.
7. End with Elastic Band
Remember to leave a space about 1/2 of the bottom of your hair before you secure it with an elastic band or scrunchie. Regardless of whether you prefer a loose or tight French braid, we recommend that you opt for an elastic band since your hair might get unravel quite easy. But, later on, you can accessorize it with a scrunchie or super cute barrette.
8. Spritz Hair Spray
Hold your horses! Before you walk out of the door, it is important that you spritz hair spray or dry texture spray to make it last longer. If you want to achieve an effortlessly romantic look, you can take a few hair strands to frame your face. Sometimes, your hair strands might stick out or unravel, so grab one of those bobby pins and secure your hair neatly before tucking them hidden under the braid.
5 Super Cute French Braid Ideas
1.Double the Trouble
Nothing can beat these double French braids! It is perfect for a casual day out with friends or even a date with your bae. Plus, this hairstyle is so trendy right now. If you want to achieve perfect double braids, the key is to section your hair correctly. You might need some help to create this look thou, but it is definitely worth it.
2.French Braid Bun
French braid bun is a perfect solution whenever you want to amp your look a little bit. There are tons of styles that you can opt for depending on the occasion. If you’re thinking of a more sophisticated look, we recommend that you opt for the low chignon bun. In fact, it is the go-to hairstyle for a wedding day!
3. Side French Braid
For those who prefer a simple hairdo, you will absolutely love the side French braid. It is not only super easy to do, but it looks utterly gorgeous too. Most importantly, you can nail this braid even if it means doing it on yourself. You can either style it with a bun, half hairdo or simply let your hair loose.
4. Colourful French Braid
If you’re one of those lucky people who happen to have gorgeous colourful hair shades, consider yourself lucky as this next look is the one for you. You can opt for various styles of French braids from side braid, bun to ponytail. This hairstyle will help to accentuate the different intensity of your hair colours.
5. Hair Accessory
If you think a regular French braid is quite plain and boring, you can spice it up a little bit by adding hair accessories. We definitely love this style as it is perfect for a music festival or a glam night out. You can add few accessories or even dab glitter all over your braids.
Make sure to follow Beauty Insider on Instagram and Facebook for the latest news updates.